
The idea that I could create a title using the fundamentals of what we first learn as Animators (The bouncing balls) and intermix it with a simplistic design that reads well to a viewer; was something that instantly appealed to me looking at it from an animation/designing perspective. Something that could perhaps be seen as something that was memorable. After all, that's what we aim to give with the Show-Reel. The Memorable. So I came up with a design in Photoshop, using typography that could both read clearly whilst in motion and look effectively 'zany' & 'cartoon' which I really wish to capture in the flow of the work. This in turn inspires my style so collectively everything functions like clockwork.

Initial photoshop design.


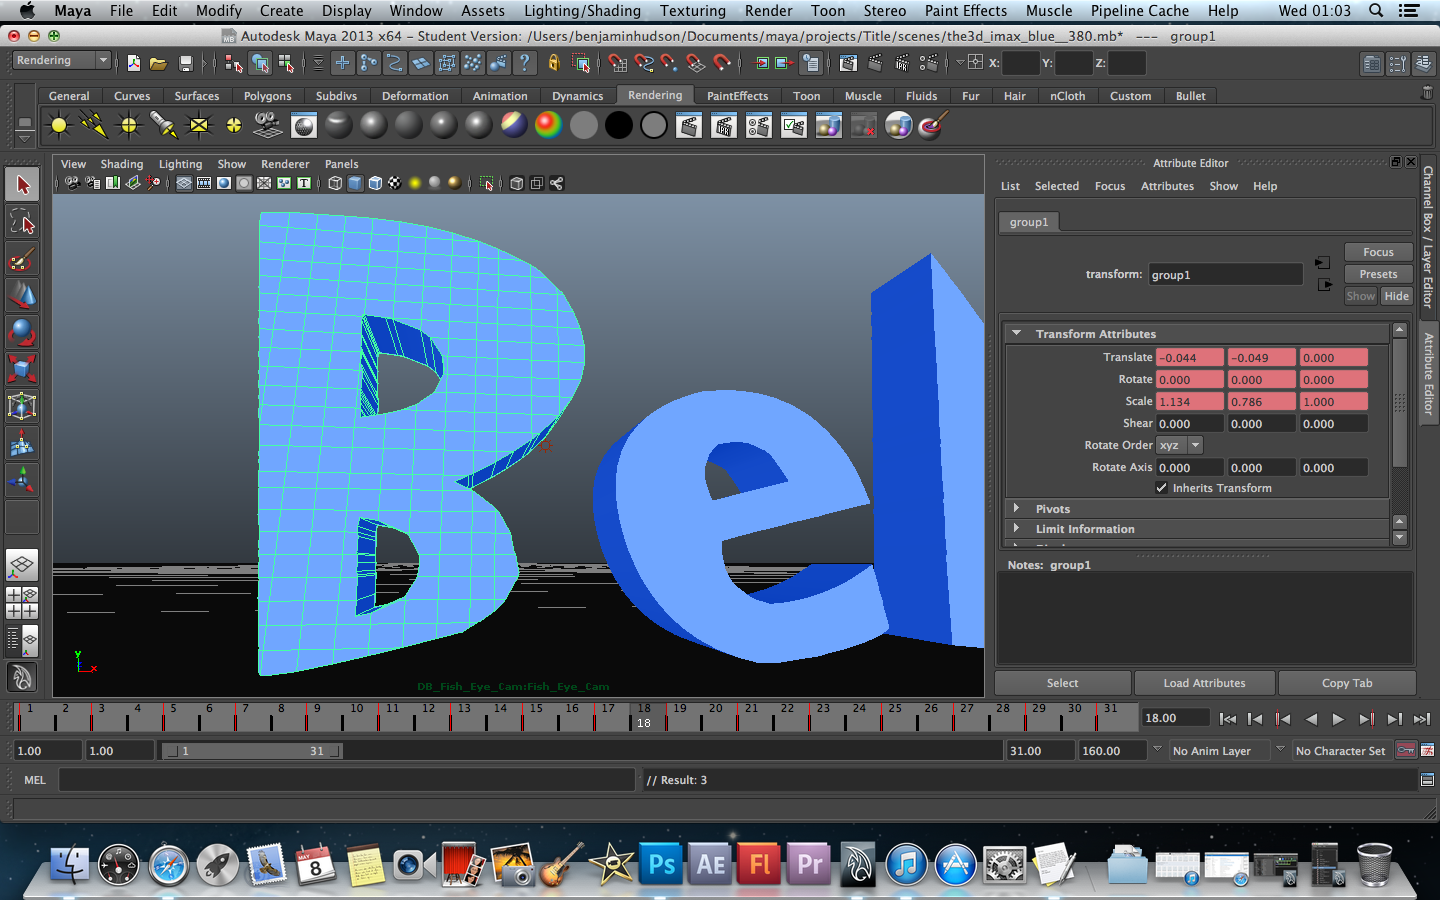
The Photoshop design was then taken and built in Autodesk Maya using 'Create Text' and 'CV Curve Tools' (for the more intricate area's) and the design was then extruded to essentially build the lettering. If flat, like in the image's, then the design wouldn't be plausible and it would be difficult for us as viewers to interpret the grounded physics of it. So extruding the lettering gives a sense of scene, a sense of physical visual place, no matter how stylistic you get - which to bring the directing streak into things, is what the illusion of animation is all about. Shadows and a little bit of reflectivity were added just to add to the world that the lettering is interacting with.
The design being first constructed in Maya. Before extrusion.


I then set up a 2-Point lighting system that would give the front of the lettering facing the camera the most light, whilst the back would also receive some ambience so that it would not be definitively darker than the rest of the piece. That element of consistency was always an important aspect to giving this piece a nice, even balance all around.
Extrusion, lighting & scene set-up
Animation keys been altered on the letter 'B' (see Animation timeline)
By this point, the animation was also being worked into and steadily completed. I only needed to animate the first 31 frames of each letter and keep their poses inconsistent to keep a bettered sense of variety and character between them; so I could apply the Post-Infinity-Cycle with Offset option in Maya's Animation Graph Editor for the letters to bounce for what would literally be; forever. But for timing's sakes I only need 5 seconds worth which would need 120 frames. 5 seconds is long enough to grasp a sense of what is happening and read the text.
Going overboard and adding too much was always something that I was very cautious about; so I decided that my floor, the base of the scene which would interact with the lettering would also connect seamlessly with the background. This was achieved using Maya's 'Use Background' option in the Hyper shade. However, the effect only works in the final render and through the Camera's view.
Playblast of the animation in progress...
The same was done for the end contact details that will narratively round the show-reel off. The way I think of this, is as 'The Lord of the Rings trilogy' where, we start off in the Shire, and we return there after an proportionally epic adventure at the very end, so I wanted to bring that recurring motif back to complete everything, and not throw too many design aesthetics around.

I'll be back with more!


No comments:
Post a Comment